Summary: NordLayer is a network security platform that sets up fast in 6 steps. This guide walks admins through the Control Panel.
Securing your business network doesn't have to be complicated. NordLayer is a network security platform designed to make a seamless transition to the Security Service Edge (SSE) framework.
We’ve created this guide to help you get up and running quickly. From initial configuration to setting up your team's devices, you will learn how to unlock the full potential of the platform and strengthen your organization's security.
Let’s get into it.
1. Explore the Control Panel
NordLayer’s Control Panel is the central hub where you manage your business network, users, security features, and billing—all in one place.
An admin can get the platform running in under 10 minutes.
NordLayer integrates seamlessly with your existing infrastructure.
You have full control over your subscription:
Subscription overview: Instantly view your plan details, billing cycle, next payment date, and renewal amount.
Dynamic license management: See all active licenses at a glance, purchase add-ons, and get real-time pricing with VAT included.
Streamlined billing: Easily update key billing details and route receipts to up to three email recipients.
You can upgrade or downgrade your current plan at any time. Available plans:
Lite: $96 billed annually or $10 billed monthly per user
Core: $132 billed annually or $14 billed monthly per user
Premium: $168 billed annually or $18 billed monthly per user
2. Add new users
Setting up NordLayer for new team members starts with a simple email invitation. Once the new user accepts the invite, their license activates, and they can immediately connect to the NordLayer servers.
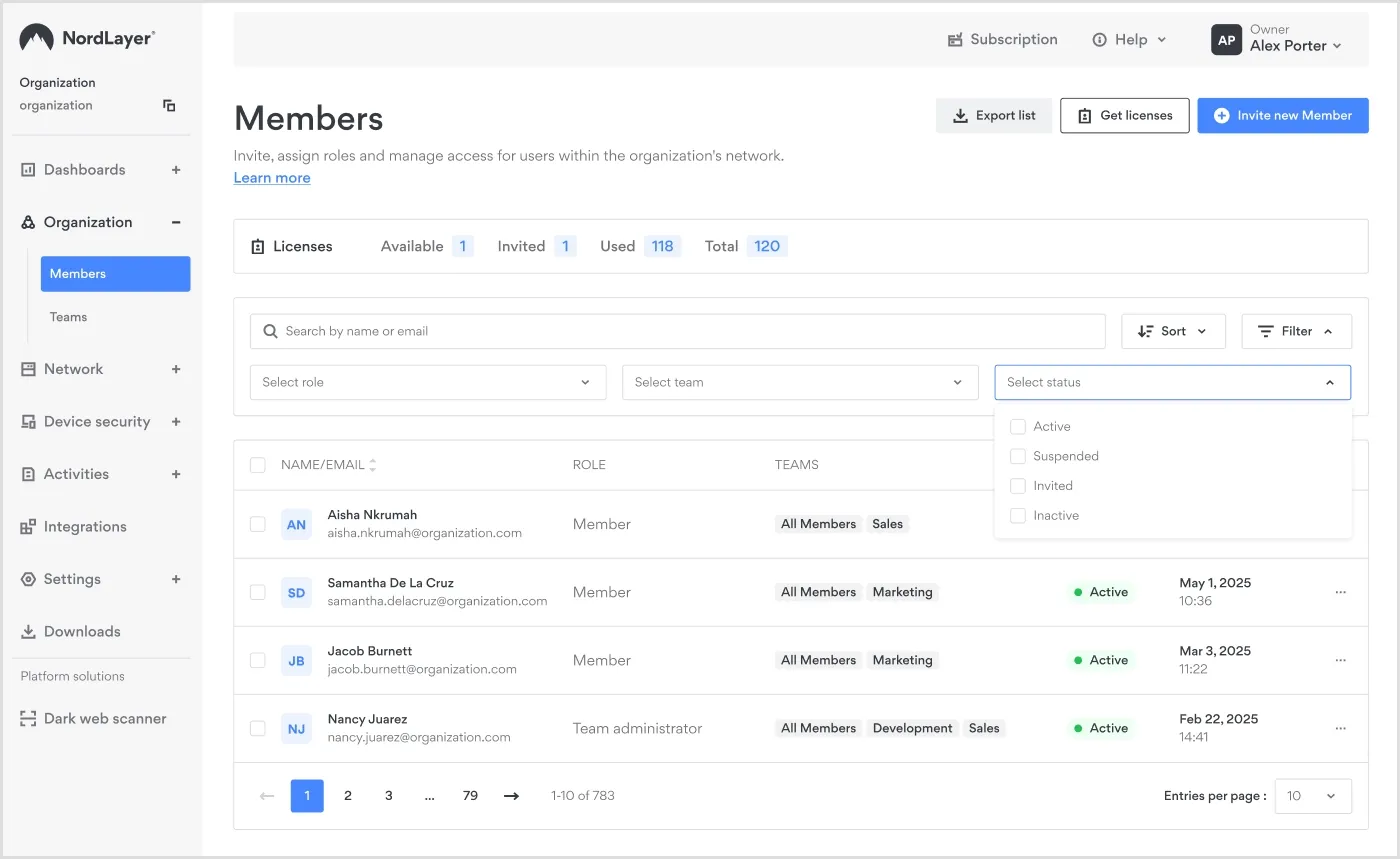
A view of NordLayer’s Control Panel showing how to onboard a new team member
Quick setup steps:
Go to the Organization menu and open the Members section.
Enter the user’s contact details and send the invitation.
Once accepted, the licence becomes active.
Track the invitation status:
Invited: The invitation was sent, but has not been accepted yet.
Active: The user has accepted the invitation and created their account.
Inactive: The user’s subscription has expired, but can be renewed.
Suspended: The user no longer has a license (and it can’t be renewed).
3. Create new teams
Organizing users into separate Teams gives you granular control over access and simplifies network management. You can find the dedicated Teams tab in your Control Panel (CP) under the Organization tab. From there, you can:
Create and name new teams instantly.
Manage each team’s access permissions
Assign users to specific teams
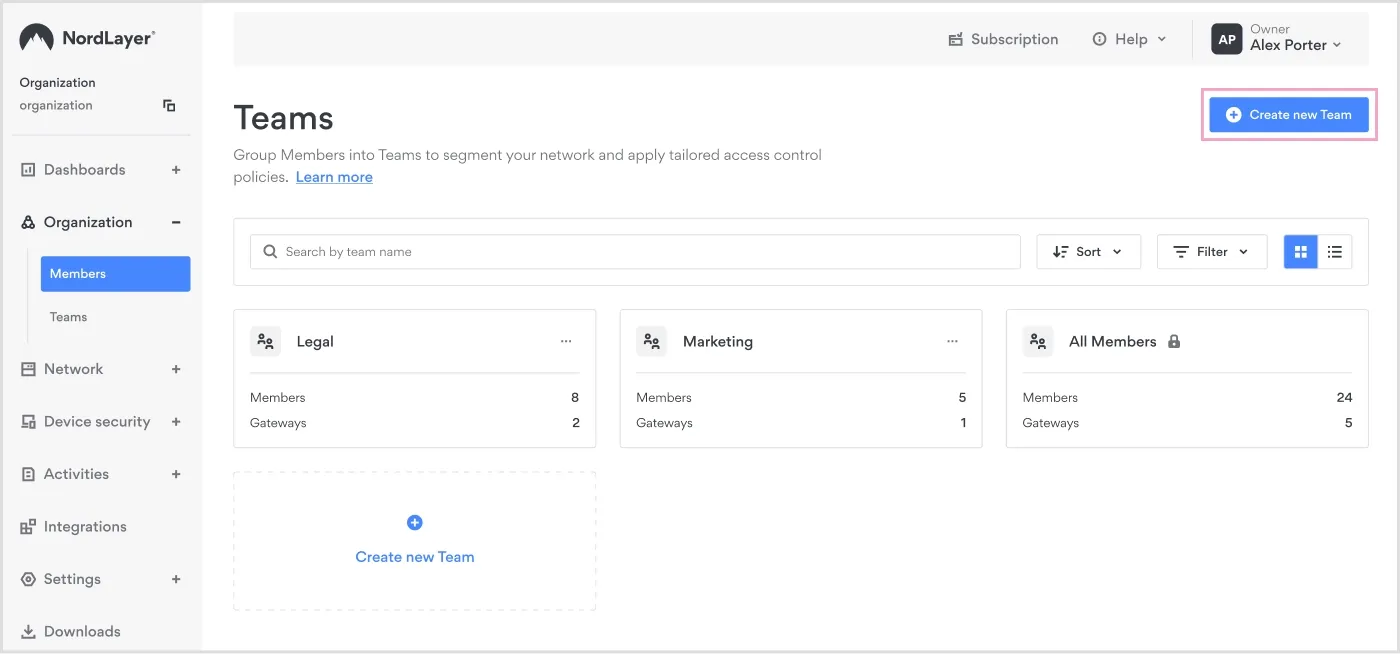
Creating a new team in NordLayer’s Control Panel
4. Set up gateways and servers with a dedicated IP
Each Team can be assigned a server with a dedicated IP (if your organization purchased one). This ensures users access only the resources relevant to their job function. Once the team's dedicated IP address is allowlisted in your organization’s system, only that specific team will be able to access the protected server.
Assigning teams across multiple servers helps balance the server load.
Management actions:
Create new private gateways, assign Teams to them, and add servers.
Monitor server load for each server with a dedicated IP
View the full activity log in the Activities section.
Related articles

Andrius BuinovskisAug 12, 20254 min read

Anastasiya NovikavaNov 13, 20259 min read
5. Set up login methods
In the Control Panel, you can centrally implement security policies for all teams. This ensures you can easily integrate NordLayer with your existing authentication and SSO tools.
Single Sign-On (SSO): Enable login methods using third-party identity providers, such as Entra ID (Azure AD), Google SSO, Okta, OneLogin, and JumpCloud.
Two-factor authentication (2FA): Require additional verification before allowing users to log in to NordLayer.
Biometric authentication: Add fingerprint or facial recognition for supported devices.
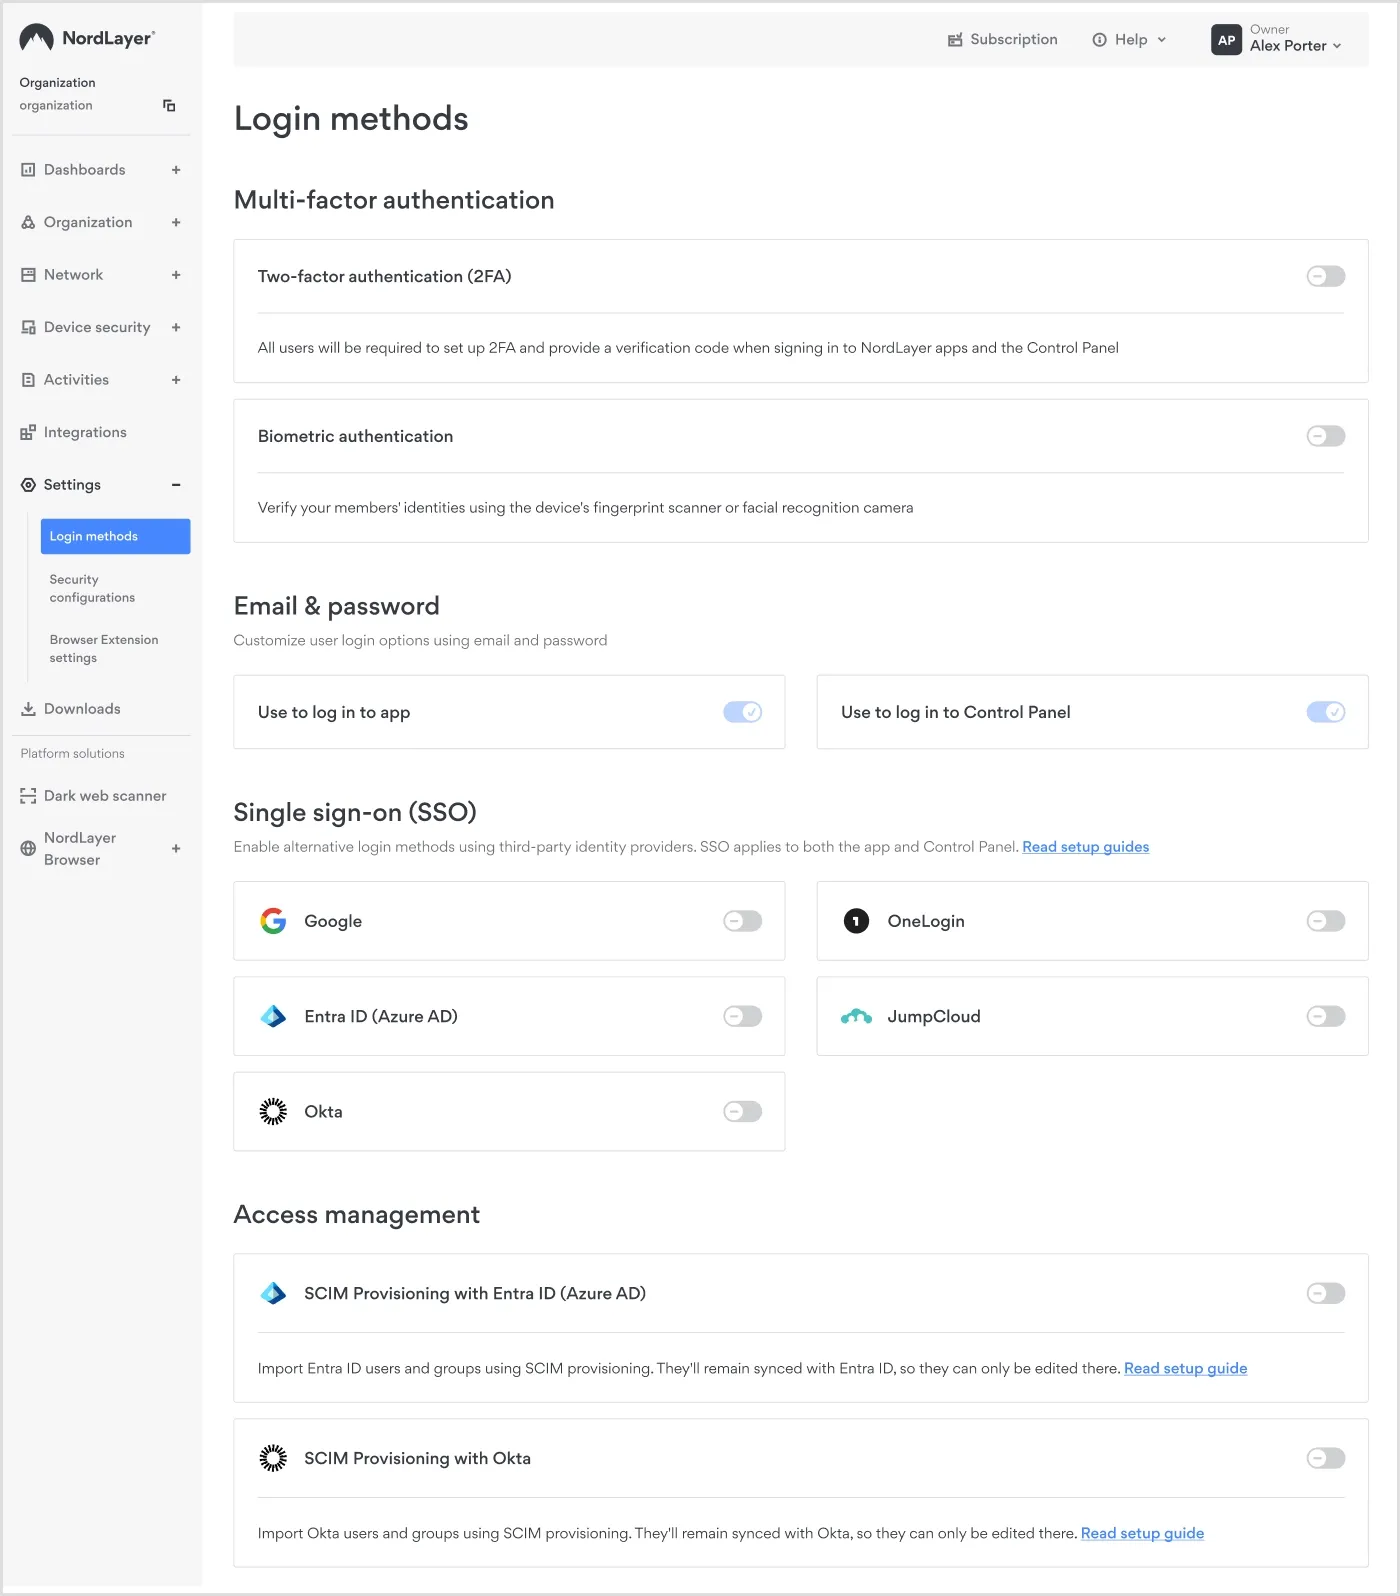
Enabling login methods in the Control Panel
Want the full picture on Nord Security’s B2B suite? Watch the webinar video for 2025 updates and an exclusive look at what’s coming in 2026.
6. Device security settings
To enable Device Posture Security feature, go to the Device Security tab in the Control Panel. This feature lets you track and control devices using predefined security rules and receive alerts about non-compliant ones. It can block network access for accounts using untrusted or vulnerable devices, including those that have been jailbroken or rooted.
7. Download NordLayer
Once your NordLayer configuration is complete, onboarding users is simple:
Each user can use NordLayer on up to 6 devices.
NordLayer is compatible with all major OSs, such as macOS, Windows, iOS, Android, and Linux. Browser extensions are also available for Google Chrome, Mozilla Firefox, Microsoft Edge, and Brave browsers.
Network monitoring and integrations
After deployment, the Control Panel provides centralized visibility for security and scaling:
Dashboards give you a comprehensive view of your network activity, grouped into:
Usage: Analytics on how your organization uses NordLayer
Security: Insights about your organization’s user authentication and access control.
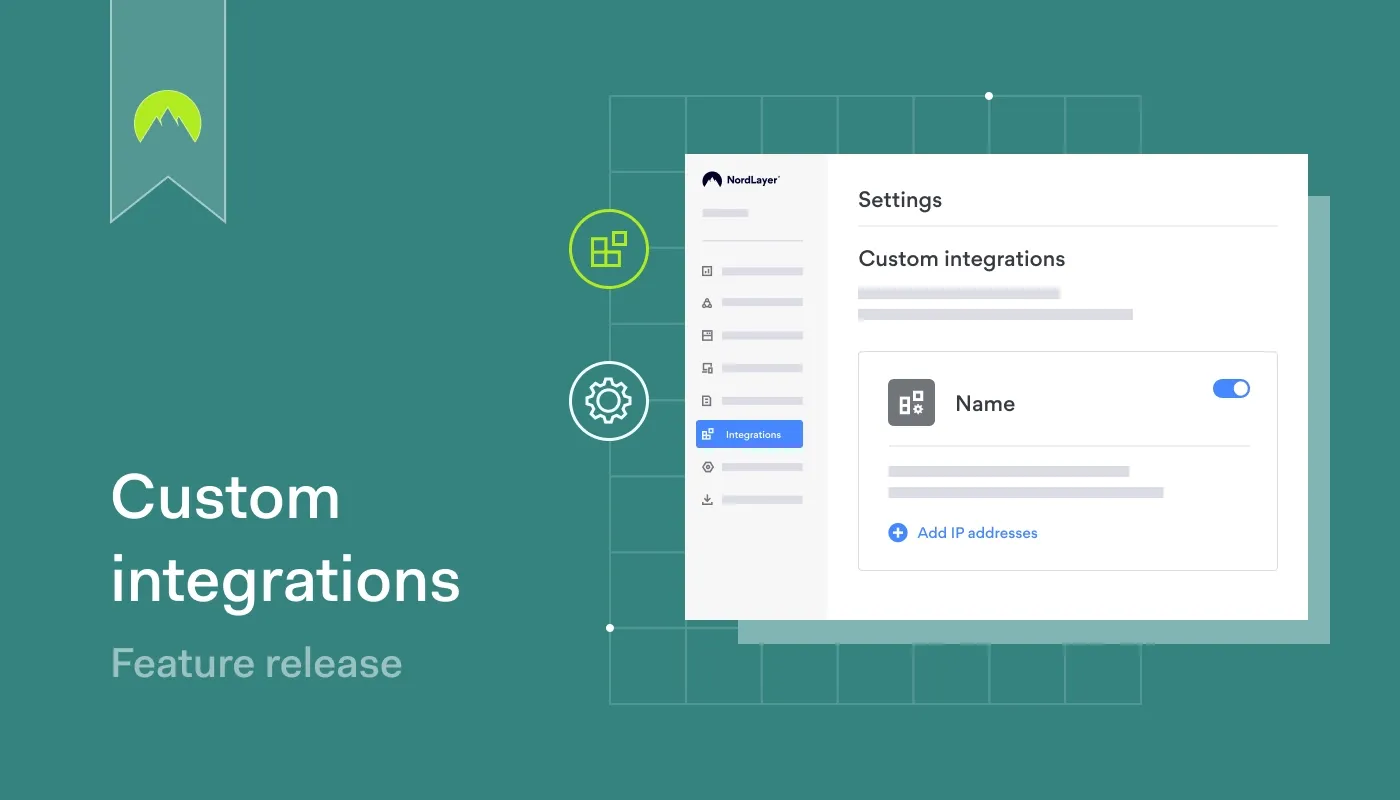
Integrations: Built-in integrations with
SentinelOne and
Jamf Cloud. You can also set up
Custom integrations that trigger user logouts based on alerts from third-party security tools.
If you need help, NordLayer offers 24/7 technical support via live chat or email [email protected].
Andrius Buinovskis
Head of Product
Andrius Buinovskis, Head of Product at NordLayer, began his IT journey in the early ’90s when he exclusively experienced the thrill of technology by accidentally deleting and then reinstalling Windows on his own PC. Since then, his passion for IT has grown, leading him to specialise in developing IT services across diverse industries, including banking, telco, aviation, and cyber defence. At NordLayer, Andrius is now deeply involved in strategising and leading the product development agenda, further trailing his mark in cybersecurity.